

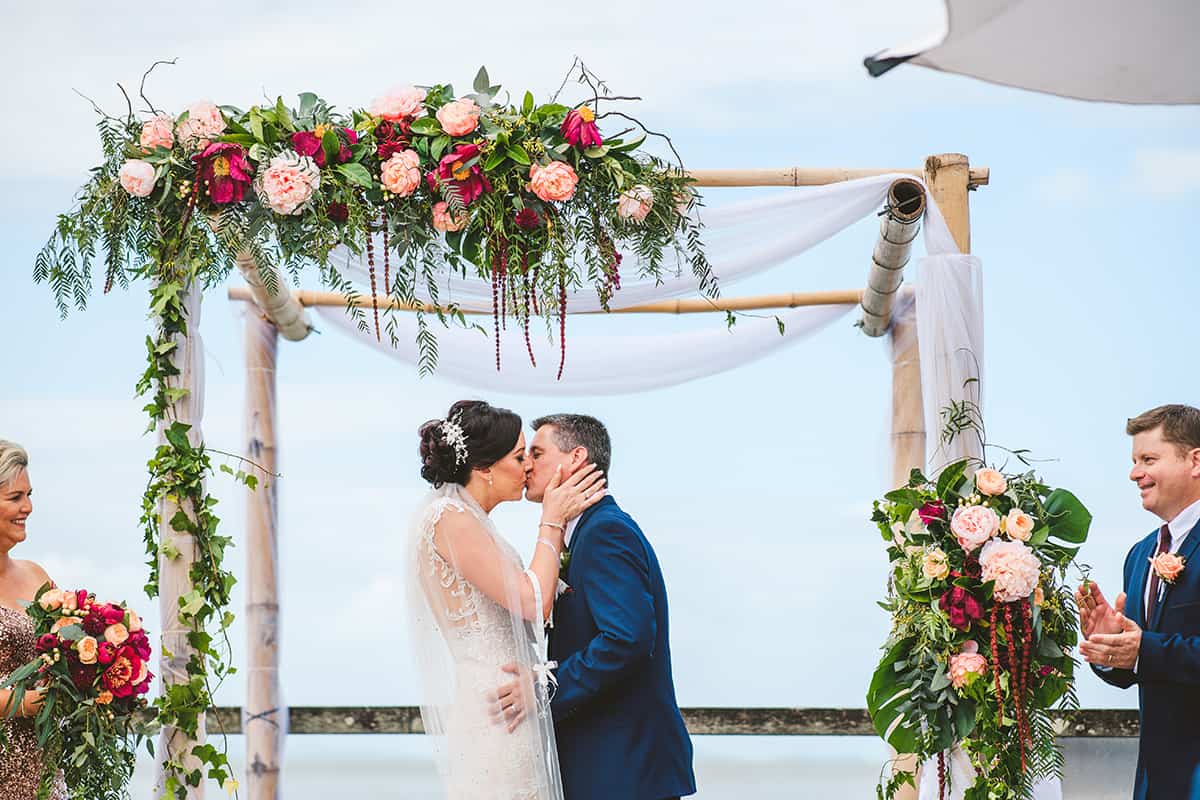
We’ve heard our fair share of proposal stories, here at QB, but this one certainly stands out. After meeting at work and going on to date, Marissa and Peter were enjoying a romantic dinner when disaster struck. Planning to pop the question at dessert, Peter had to rush his beautiful girlfriend home when she unfortunately came down with gastro (we’re told not from the restaurant, though). Safely home but feeling a little worse for wear, Marissa later unpacked dessert and noticed a ring box inside. “It was then and there in our kitchen that he got down on his knee and proposed to me,” laughs Marissa. “He had literally seen me at my worst at that point in time and this man was still prepared to ask me to marry him. Of course I said yes!”
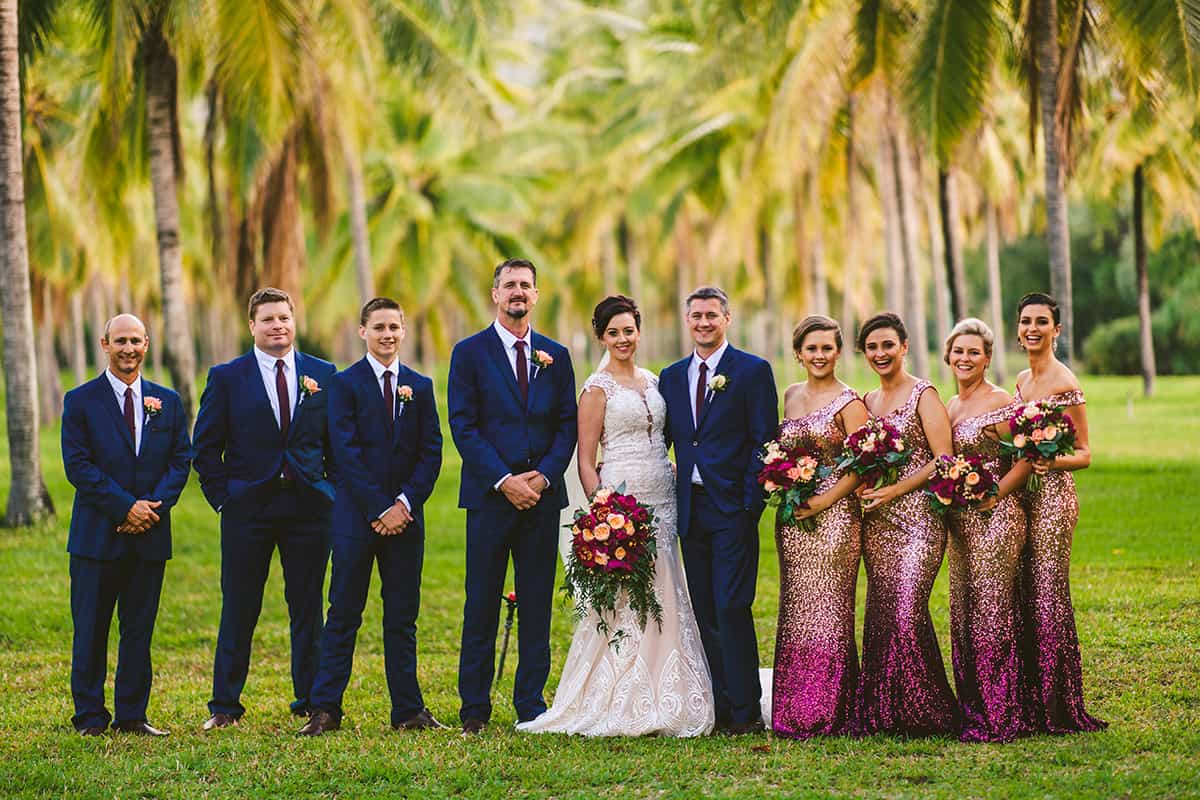
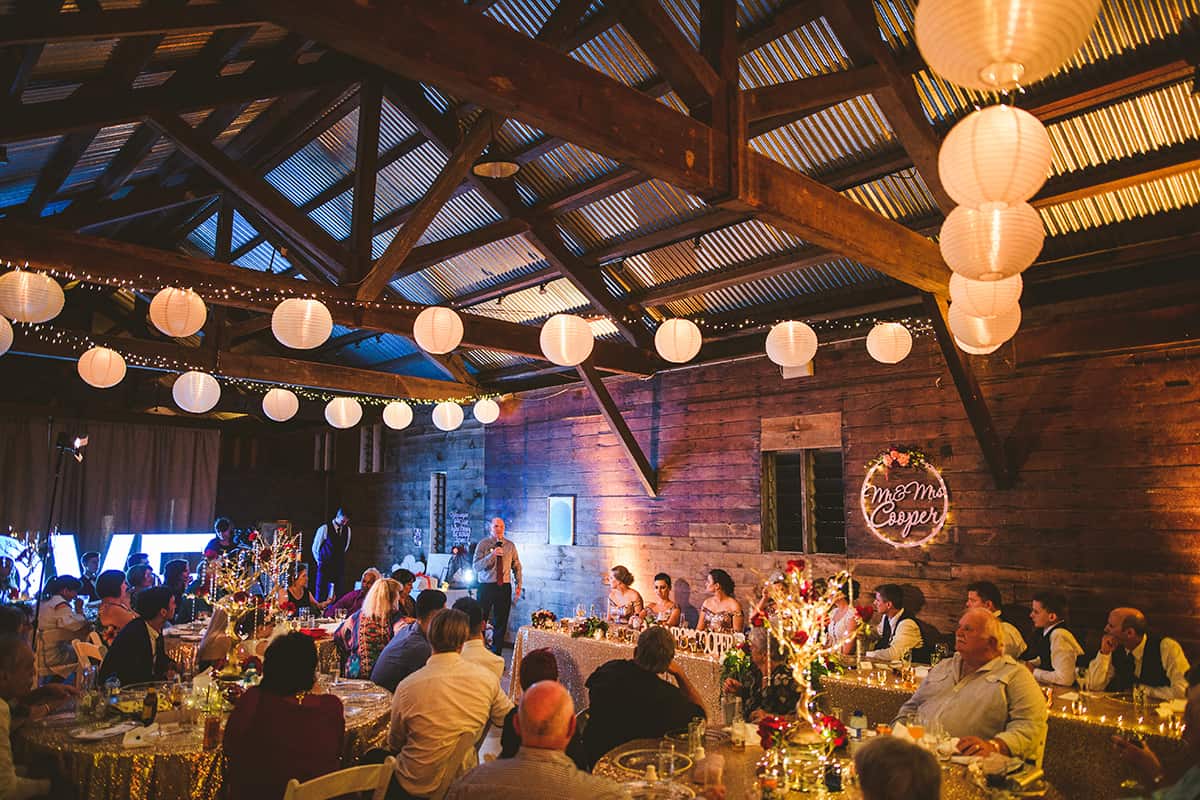
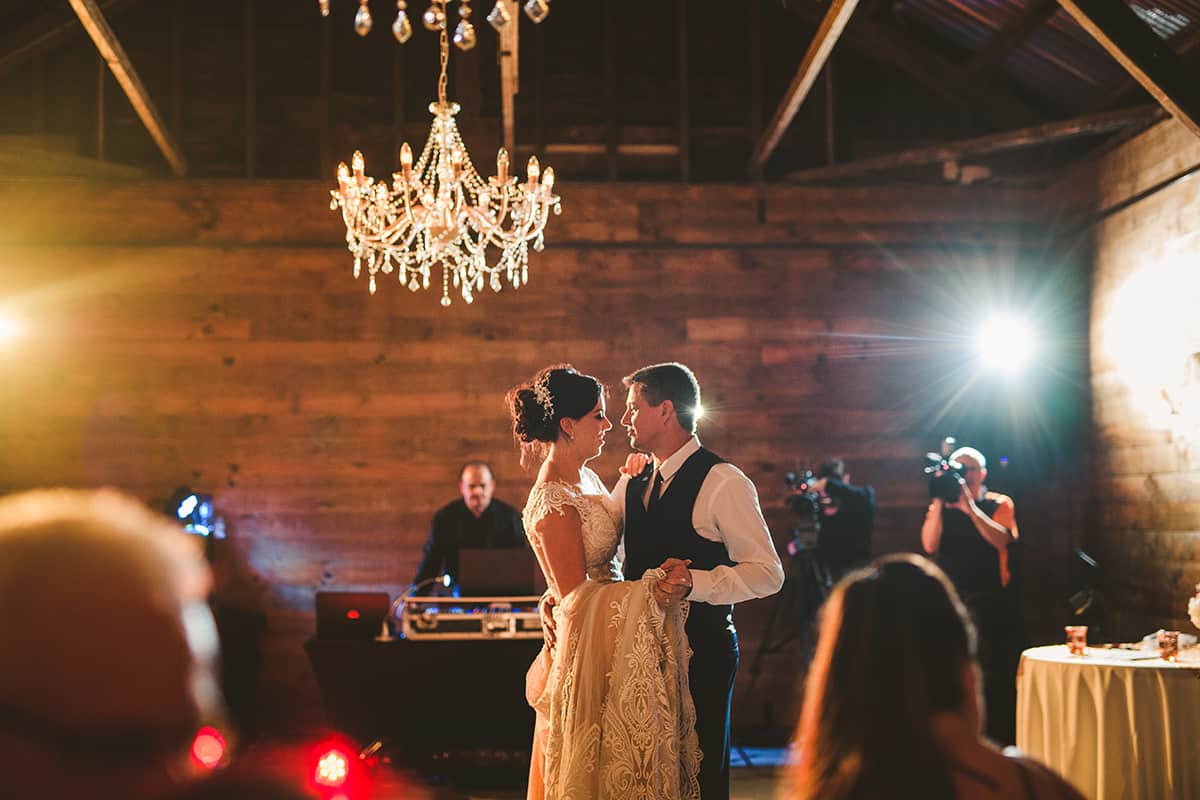
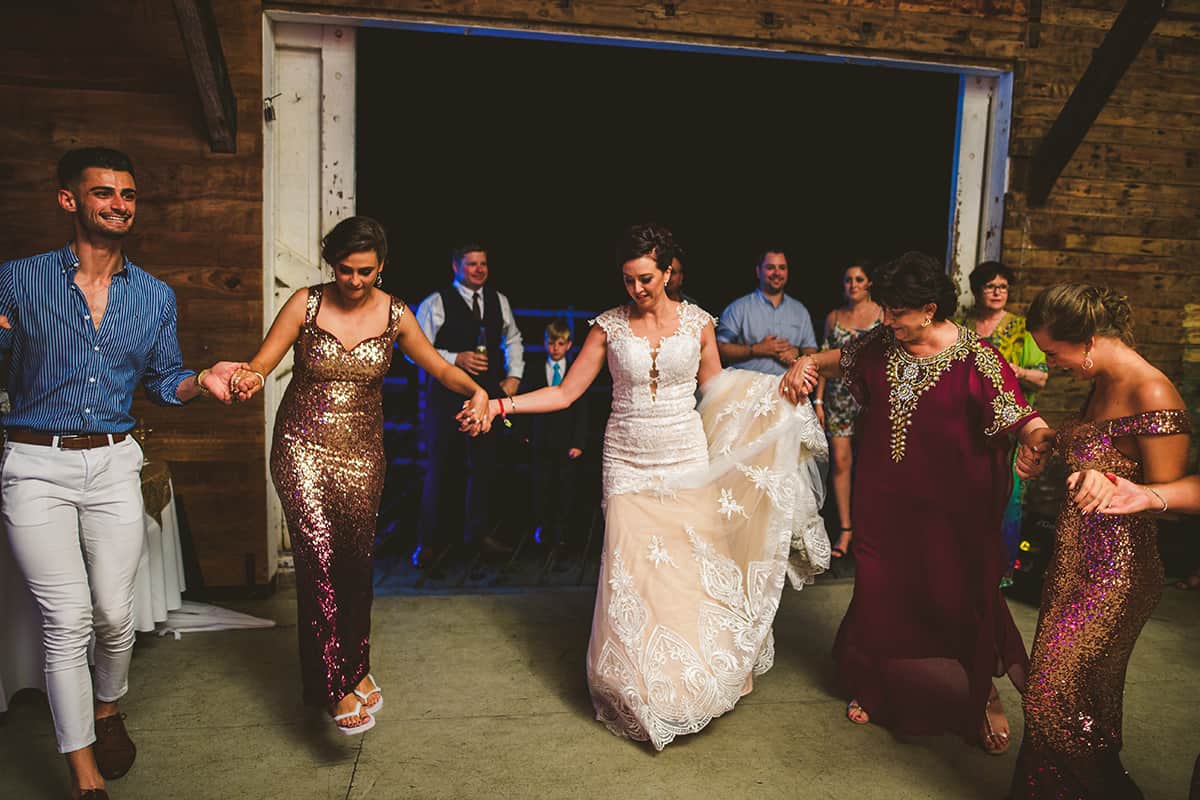
With everyone in good health, the two tied the knot in a heartfelt wedding at Port Douglas’s Sugar Wharf before exploring the destination’s most scenic spots for a gorgeous photo-session. Joined by family and friends, Marissa and Peter later let their hair down in a fun-filled reception in the venue’s historic shed. Adorned with twinkling fairy-lights, sequins and bold blooms, the space created an opulent setting for dancing the night away. “Our wedding had great company, a great vibe and great music,” says Marissa. “I just wish it didn’t go so quick!”
 LITTLE BLACK BOOK:
Photography: Matthew Evans Photography // Videography: HDeVolution Video Production // Ceremony and reception: Sugar Wharf Port Douglas // Wedding dress: Calla Blanche // Hair: Berry Lane Hair // Makeup: Sandra Gallo // Bridesmaids’ dresses: Model Chic // Shoes: Forever New // Suits: Ed Harry // Rings: Diamond Gallery // Flowers: I Do Flowers // Cake: Cakes Annietime // Celebrant: Leisel Pisani // Entertainment: Millennium Weddings // Catering: Platinum Cuisine // Transport: Hummers & Harleys // Honeymoon: Maldives
Click below to see full gallery


