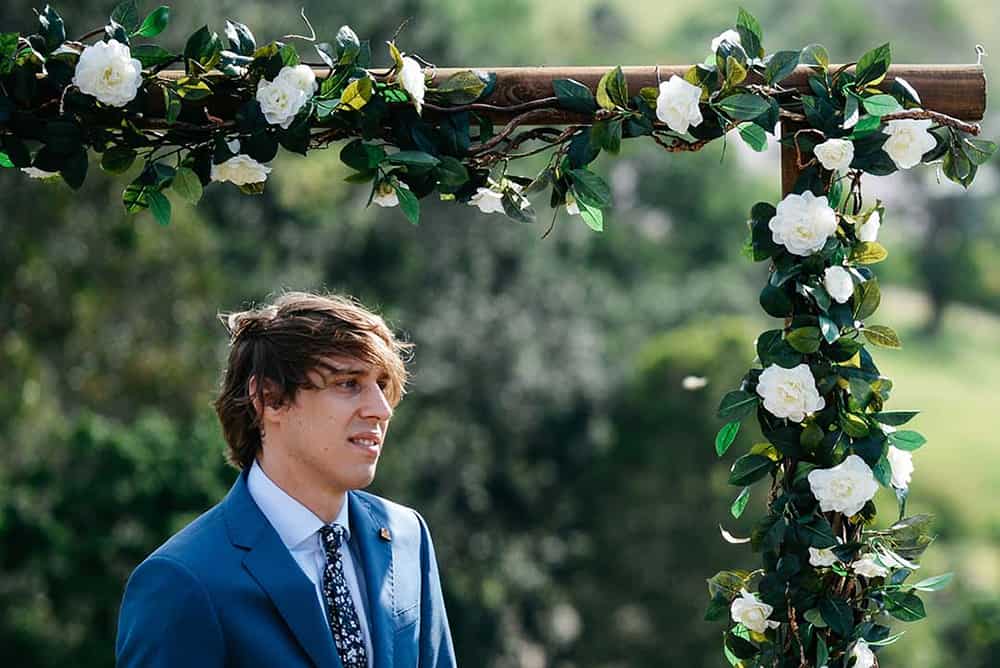
DIY queens out there, this is for you. If you’re planning on tying the knot on a private property or just want to make a super sweet arbour for your venue (with their permission, of course), this project will inspire a Bunnings trip (get a sausage sizzle for us!) or two.
Related articles: DIY inspo: Real bride Alyce shares how to make your own golden ticket fortune cookie favours and DIY inspo: Real bride Alyce shares how to make your own hanging candle installations
When we shared with you the DIY-filled wedding of Alyce and Jon, we gushed over all the cool projects the couple took on. One that really impressed us was their homemade ceremony arbour – yep these guys have skill. Alyce is the brains behind online colouring and craft class hub Kit and Clowder, so naturally we asked her just how she made this lovely creation. Don’t worry, it’s alot easier than it looks…

From the wedding of Alyce and Jon, by Peppermint Photography
What you’ll need:
- 3 x 2.4 metre high x 75mm treated round pine poles from Bunnings ($9.48 each)
- Large bolts and wrench or impact driver for tightening/removal
- Saw to cut poles to desire size
- Artificial (or real!) vines, branches and flowers
- Florist wire
- Timber stain in colour of your choice (we chose wenge to achieve a dark brown look)
- Timber pickets
- Timber screws
- Drill

From the wedding of Alyce and Jon, by Peppermint Photography
The how-to:
1. Align the poles up on the floor in a upside down U shape to show the size of your arbour. Work out how much overlap you want at the top and how tall you want the overall structure. Keep in mind that you want to see the top of the arbour in photos, and it shouldn’t be too high above head height.
2. Using a saw, cut the ends off the poles to suit the look you are after in the previous step.
3. From the top pole, chisel out the shape of the vertical poles where they connect so the top pole will sit on top comfortably. Using large bolts, affix through the top of the arbour, down into each vertical. This method will make the arbour transportable as you can loosen the bolts to have three separate pieces.
4. Affix timber pickets to the back of the arbour with timber screws, overlapping with the bottom of the poles. This will be used to bang the arbour into the ground so it stay upright. If your arbour is being used inside, you can concrete the arbour into crates for stability instead.
5. Stain the arbour and timber pickets in a colour of your choice. We did two coats of wenge timber stain to achieve a dark look all over, which helps to disguise any fixings.
6. Set up the arbour in your yard (or a friend’s if need be) for decorating. It is always easier to have the arbour standing up so you can appreciate how everything will sit.
7. Wrap artificial sticks, branches, and vines over the arbour to suit the look you are after. Make sure that you keep the area where the bolts are free of product so you can easily take apart and transport to your wedding site.
Bonus tip:
If you’re price conscious, consider decorating only the front of the arbour. The back will not be visible on the day or in your photos, but you will end up using half the product (so half the price!).
Not the DIY bride? Head to the QB wedding directory to find your dream vendors..
Related posts:
 8 Things To Know About Getting Married At Airlie Beach
 Happy World Beard Day!
 We wouldn’t mind if the Easter Bunny left us these treats…
 4 mocktail recipes perfect for a summer wedding
 Wendy Makin Bridal Designs shares tips for first wedding dress consultation
 Open for business: how to plan your 2021 wedding in Queensland
 21 romantic and affordable Valentine’s Day or date night Ideas
 10 surprising things about being engaged (that no one prepared me for!)

